This guide presents how to grow mushrooms using homemade spawn bags or pre-made grow bags. Please review our PF Tek Method guide if you would like a more hands-on and repeatable method.
Anyone can learn how to grow mushrooms at home with this guide. It is an accessible and fun way to grow delicious edible mushrooms you can eat and share with friends and family.

Overview: Grow Mushrooms at Home
Choose a mushroom cultivation kit: If you are starting, using an elementary grow kit can teach you how mushrooms grow.
If you don’t want to use an easy mushroom kit, you will need to prepare the following supplies:
- Mushroom spores: You will use this to inoculate your mushroom growing substrate. Popular choices that will work with this guide are King Oyster Mushrooms (Amazon) and Lions Mane (Amazon).
- A mushroom substrate: You must buy a pre-sterilized grow bag (Amazon). Or, you can make your own grow bag with your substrate.
If you make your own mushrooms substrate, you will need to sterilize the substrate in a pressure cooker or a large pot with a tight-fitting lid. This can be difficult for beginners. Again, read about sterilization on our PF Tek Guide here.
Grow Mushrooms – A Step-by-Step
Choosing Your Mushroom to grow mushrooms in your backyard
Keep in mind that mushrooms grow differently. Some mushrooms grow on dead logs, in specific soil conditions, or at certain temperatures. Only certain mushrooms grow with this guide or the PF Tek Method (a popular method for beginners).
Some more examples of mushrooms you can grow with this method or the PF Tek Method:
- King Oyster Mushrooms (Amazon)
- Pink Oyster Mushrooms (Amazon)
- Blue Oyster Mushrooms (Amazon)
- Lions Mane (Amazon)
- Shaggy Mane (Amazon)
- Psilocybe Cubensis
Shopping on Amazon for your mushroom spores is a reliable source. Read reviews and check the supplier for the quality of their selection.
Preparation and Sterilization
Mushrooms grow best in different growing mediums. Other growing mediums include brown rice flour, coffee grounds, rye berry, sawdust, and more. Research the best growing medium for your mushroom on websites like Wikipedia.
Once you have decided on your growing medium, you can either purchase the sterilized growing bag on Amazon like this listing here or obtain the ever-increasing medium and store it in an empty plastic grow bag (Amazon). For beginners, it’s recommended you purchase a pre-sterilized grow bag.
If you purchase a pre-sterilized growing substrate, you can skip to the next step!
To sterilize the growing medium that you have stored in a plastic grow bag, follow the sterilization steps of the PF Tek Method. This step is critical. If you have an un-sterilized growing medium, it will grow mold and ruin your chances of using it to grow mushrooms, and you will have to throw it away and start over.
Inoculating your Sterilized Growing Medium
Note: Inoculate is the technical word for injecting your mushroom growing substrate with mushroom spores.
Take your spore syringe and inoculate (inject) your now-sterilized mushroom substrate. You only need a few drops of the spore syringe to inoculate your grow bag successfully. If it is a large grow bag, you can do 5-7 drops. You can keep the remainder of the spore syringe for future purposes.
You have successfully inoculated your sterile growing medium, and now the wait begins!
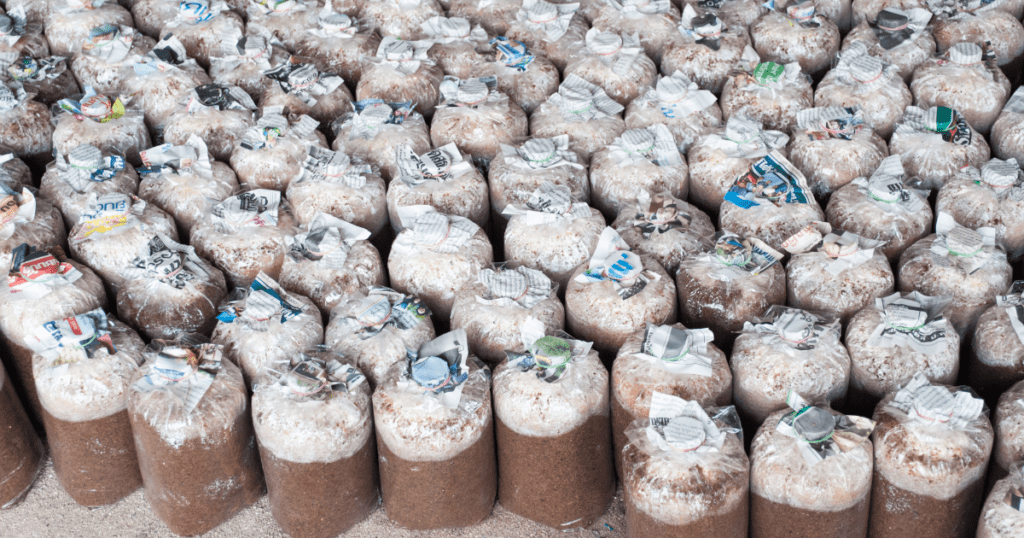
Colonization of The Mushroom Substrate
Put your now-inoculated substrate somewhere with the recommended conditions for colonization based on your mushroom. This will usually be between 65-75 F, in a low-light room, away from direct light in a stable room-temperate with average humidity. This is, again, something to research on Wikipedia for your specific mushroom spore type.
Leave the substrate alone while it ‘Colonizes’ and forms the mycelium around the growing medium. This will look like a white webby structure of moss is created throughout your grow bag. It may start in the middle of the substrate where you can’t see it, so you may not know this process starts for 1-2 weeks, depending on your conditions.
Warning: If you notice a colorful mold appear inside your grow bag on your substrate, this is no longer usable and must be thrown away. Do not open or re-use any of the contents of the moldy bag or substrate. You must throw it away for safety reasons!
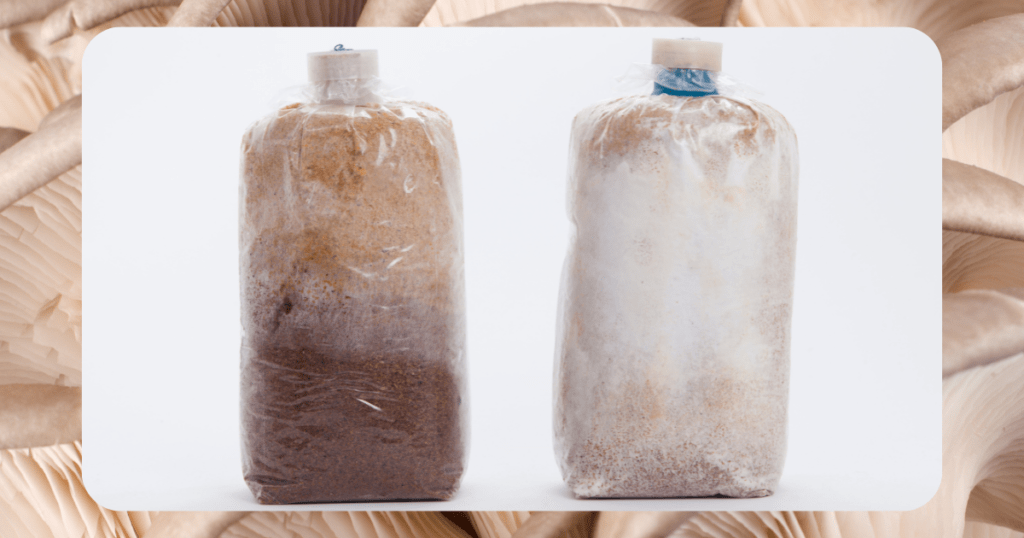
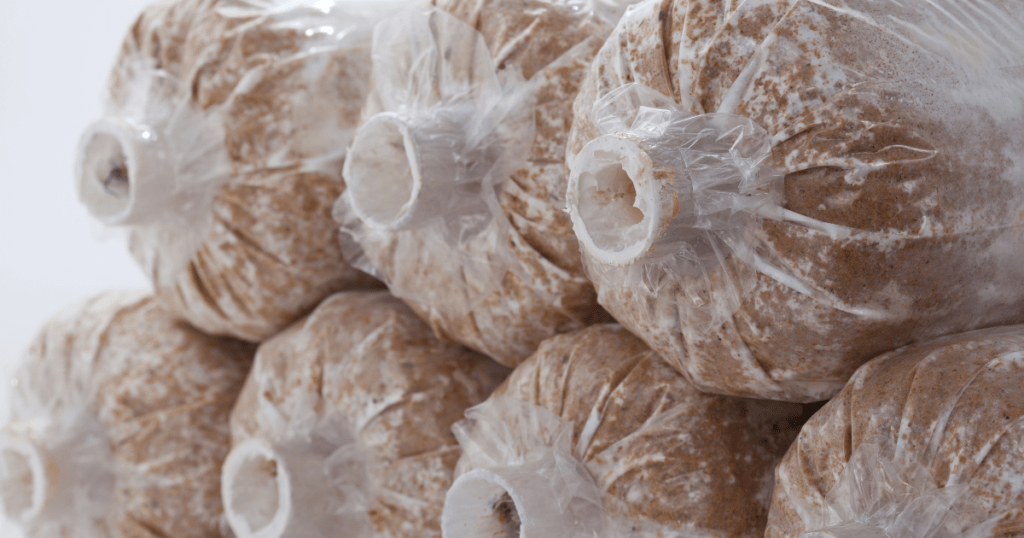
The colonization process will take at least 1-2 weeks. While colonization happens, leaving the bag alone is best, and not moving it around in the early days. The process occurs when the white webby mycelium has fully absorbed the growing medium. You might even notice a mushroom starting to form inside the grow bag. That means it’s done!
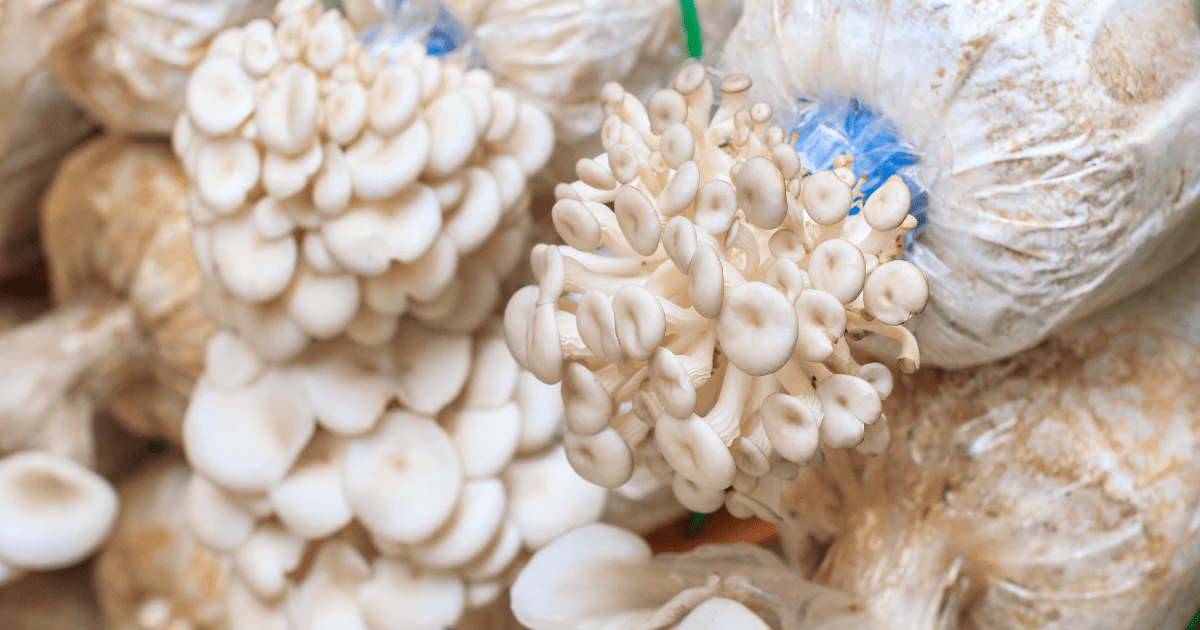
Fruiting your Mushroom Spawn Bag
Now that your mycelium has absorbed the outside of the grow bag, it’s time to make an incision to allow fresh air into the bag. This will begin the fruiting process. Typically, you will make a small incision to the top or side of the grow bag, depending on the strain of the mushroom. This incision will be 2-4 inches long and 2-4 inches wide.
The fruiting process will take 1-3 weeks. Once your mushrooms have grown and just before they open their caps to release spores, it’s time to harvest
Harvesting Your Mushroom Grow
You can harvest your grow bag by pulling or cutting your mushrooms at the stem. The mushrooms are now ready to be cleaned, stored, or used however you want! If you wish mushrooms to store for longer, you can dry them thoroughly using a food dehydrator. Fresh mushrooms will only last about one week in the fridge.
Depending on the strain, your likely grow bag will fruit another flush of mushrooms if you harvest your mushrooms. You can get 1-3 flushes of mushrooms per bag, assuming all steps were followed.
Congratulations, you’ve completed the guide. Now that you’re an expert check out our mushroom growing shop for more supplies and our other guides for more advanced topics.