Introduction to Making Mushroom Spore Prints
Taking mushroom spore prints allows you to re-grow the same mushroom by collecting the spores and reusing them in another grow. It is a straightforward process, but it requires mushrooms actively release spores out of the cap in the stage of their growth where they are releasing. See the following steps on how to take a spore print.
This means you will either need your fresh mushrooms that are actively releasing spores or someone else’s mushrooms that are releasing spores to take a print.
Once you get your hands on some fresh mushrooms that are dropping spores from their cap, you can easily take a spore print.
Materials Required:
- Fresh mushrooms
- Aluminum foil
- Scissors
- Sanitizing/disinfectant spray
- Alcohol gel
- Flat tray
- Glass jar
- A drinking glass (one per print)
- Tweezers
- Scalpel
- Ruler (or anything with a straight edge)
- Zip lock bags (one per print)
How to Take a Spore Print – Part 1
1. Choose an area in your house that is easy to clean and close off from airflow, such as a basement. Clean and sterilize your work area with sanitizer. Ensure you wear clean clothes and don’t forget to clean your hands with alcohol gel thoroughly. If you have a glove box such as the kind used for inoculating BRF/PF Tek jars, use that. See our BRF Guide here.
2. Make roughly 10x10cm squares of foil. Make two for each print that you are taking. Place the foil in a glass jar, close it with some foil, and put it in the oven at 475°F for an hour or so to sterilize it. Take them out and let them cool.
3. Disinfect your equipment. Use the sanitizing spray for all surfaces, the serving tray, glasses, and tweezers. Sterilize the scalpel over the gas burner or with alcohol.
4. Use the tweezers to take out half of the squares of foil, one by one, placing them on the serving tray. Place a drinking glass over each square and close the jar back up with the foil.
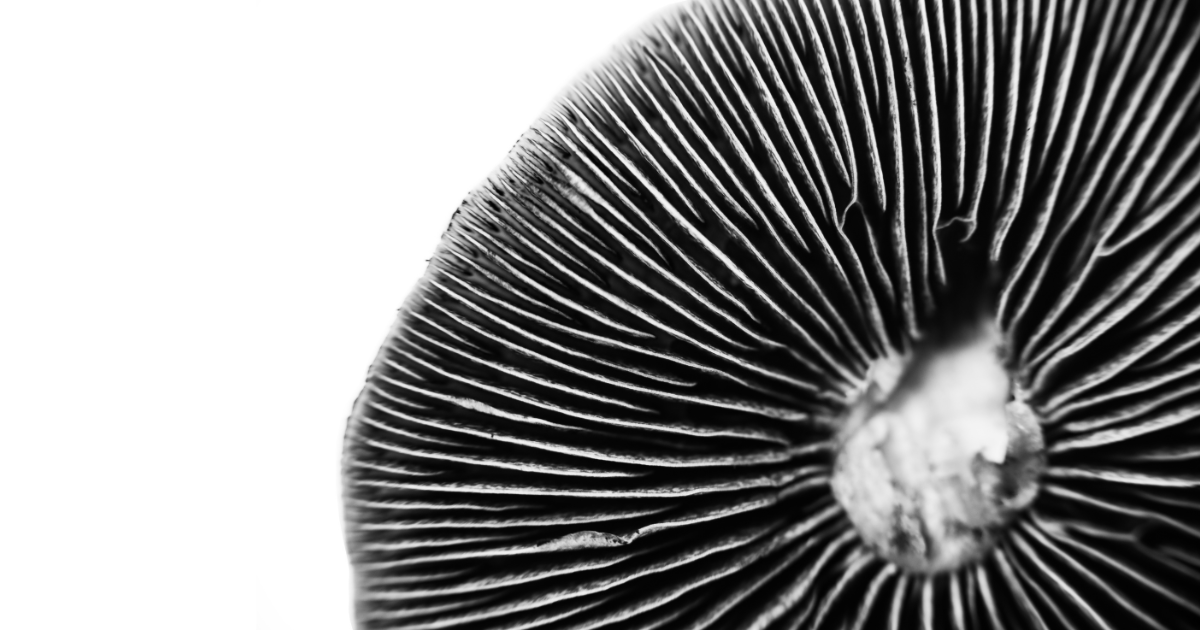
5. With the scalpel, cut the cap from the stem. Cut as near to the gills as you can. Be careful not to damage them in the process. Remove the glass from the foil square and place the mushroom cap, gill side down, on top of the foil. Replace the drinking glass to cover it.
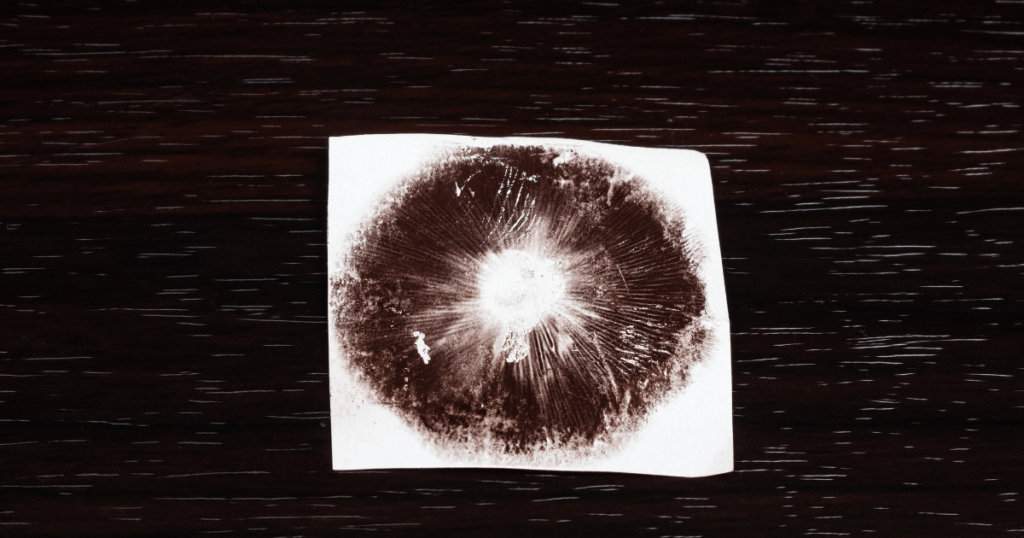
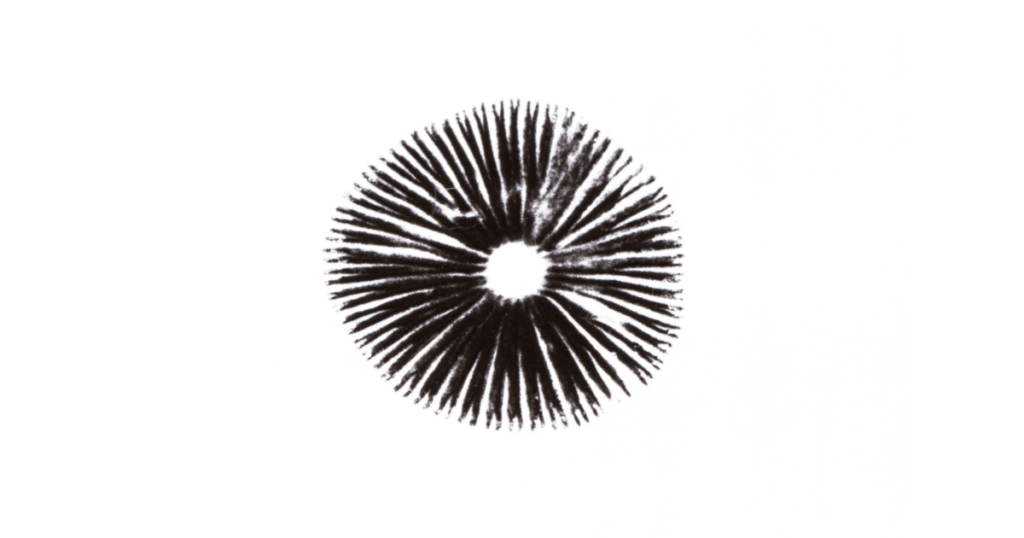
6. Carefully move the tray to a secure area, and leave it untouched for 36 hours. This is when the gills will release the spores onto the piece of foil.

How to Take a Spore Print – Part 2
7. Once the 36 hours have passed, return to your tray. Make sure you are clean and have sanitized hands, tools, and work surfaces. Using tweezers, poke into the cap, careful not to move it or touch the foil underneath. Lift the cap straight up, put it to the side, and place the glass back over the print. The caps are still good to use!
8. Put the tray somewhere safe to dry for another full day.
9. Make sure everything has been sterilized before continuing. Sterilize the tweezers, scalpel, ruler, and all surfaces.
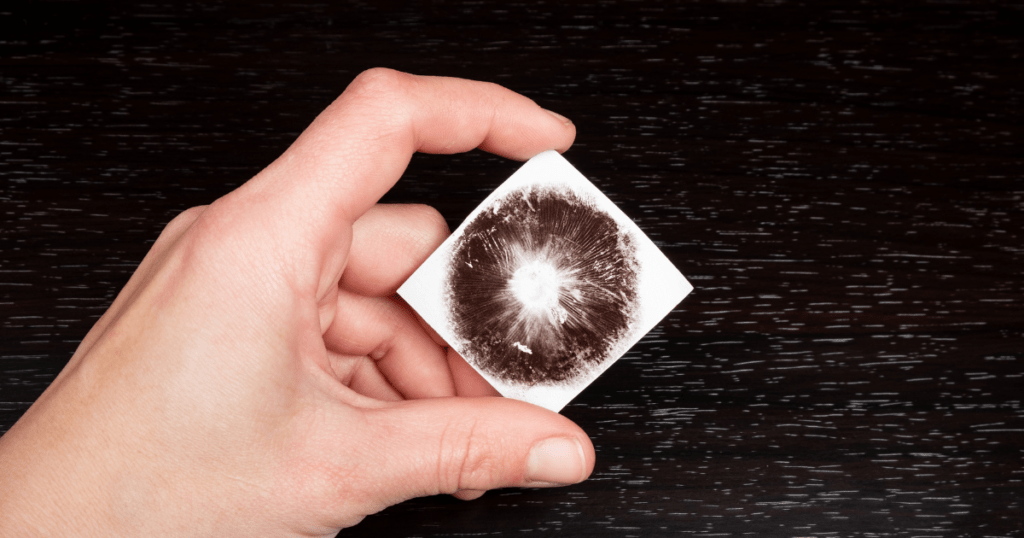
10. While waiting for the print to dry, create a small envelope out of your sterile foil remaining from earlier. You may need to cut away the print foil to fit it into the foil envelope. Ensure the edges and creases are tight and that your print is secure.
11. Put the print inside the foil envelope inside a plastic tight-lock bag. This will keep it safe from air and contaminants. Your print is now complete and can be dated with a marker and stored.
We always recommend checking out Wikipedia for specific mushroom-growing topics. Click here for the spore print Wikipedia page for beneficial information!
Conclusion
The steps to taking a mushroom spore print are relatively simple, but some key takeaways from this guide are valid for almost everything you do when working with mushrooms.
Sterile working conditions are an essential requirement. Mushroom material is prone to growing mold and other things that can be dangerous to breathe in and especially dangerous to consume accidentally – this is why sterile conditions are essential.
Secondly, make sure you store your mushroom spore prints the right way. The process is complete only once they are dehydrated and safely put into a plastic bag or envelope. You don’t want to rush the spore print process and find that your spores were improperly taken.
Another important tip is that it can be hard to tell if the mushroom cap is ready to release spores for the print taking. Sometimes, you cannot see the mushroom releasing spore prints, so you may have to try it with the print and see if it’s ready.
Back to mushroomgrowing.org