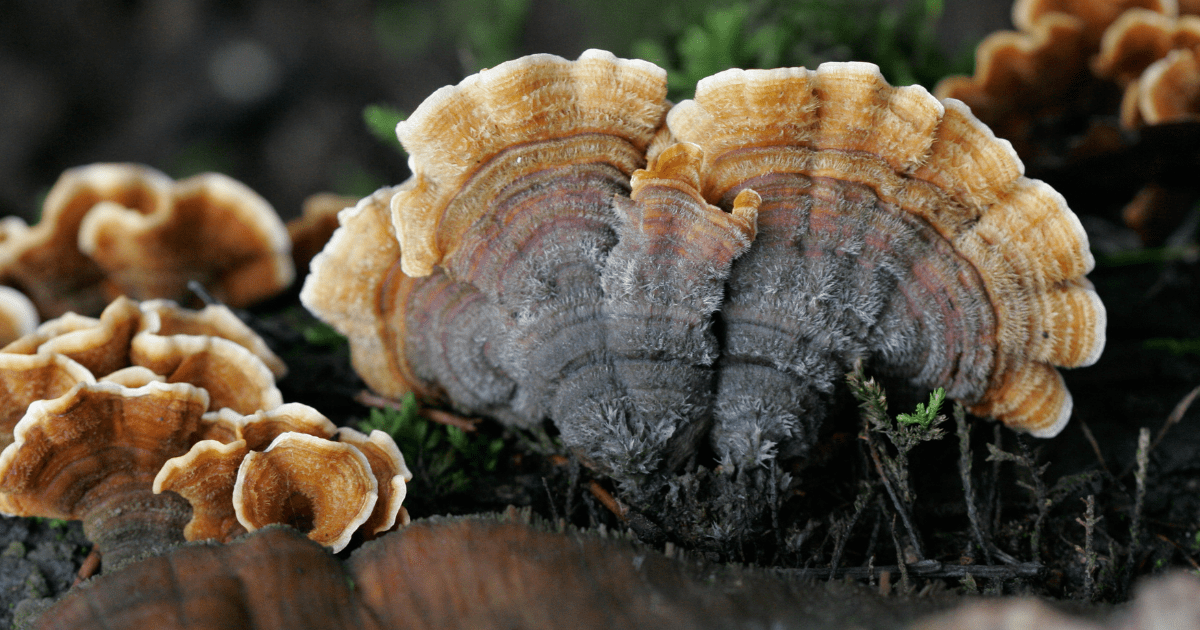
In this post, we will share the simplest method for growing turkey tail mushrooms. It is simple like many other mushrooms, but the fruiting style is a bit different to many others we’ve covered on our site. Be sure to track the steps closely and accurately.
Turkey tail mushrooms have a few different purposes. Some people use turkey tail mushrooms for medicinal reasons such as treatment of illness or prevention of illness. Turkey tail mushrooms are not usually an edible, gourmet mushroom like many others on our site.
See below for the full steps on growing turkey tail mushrooms in this guide.

Required Materials for Growing Turkey Tail Mushrooms
Turkey Tail Mushroom Spore Syringe (Amazon) – Mushroom Grow Bags (Amazon)
(For a guide on using mushroom grow bags, visit our page here)
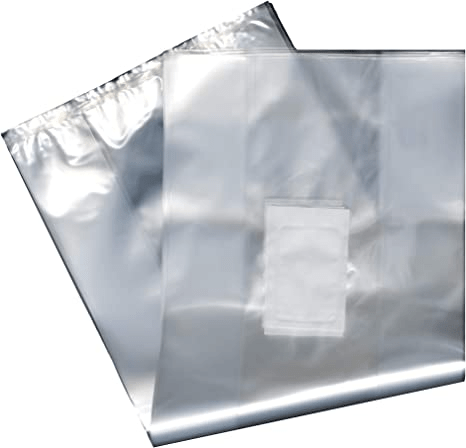
A mushroom spore syringe and a sterilized mushroom growing bag are necessary materials for growing turkey tail mushrooms. The spore syringe contains the spores for the turkey tail that they grow from. The mushroom grow bag contains the nutrition that the turkey tail mushrooms will feed off of.
The mushroom bag listed above contains boosted saw dust. This is very important to note, as turkey tail grows best with a sawdust substrate. Many grow bags will contain rye berry or grains as their mushroom substrate mixture, but turkey tail is best grown with sawdust. Make sure you purchase the right grow bag.
Since turkey tails are usually ground into a powder, we highly recommend you own a food dehydrator to dry out the mushrooms. You can find food dehydrators on Amazon here.

Using the food dehydrator will allow you to safely dry the mushrooms quickly, so you can then crush then into a powder to then use them for your intended purposes
Steps on growing turkey tail mushrooms
Inoculation of the Spores
Now that you have your turkey tail spore syringe and mushroom grow bag filled with sterilized sawdust, you are ready to grow your mushrooms.
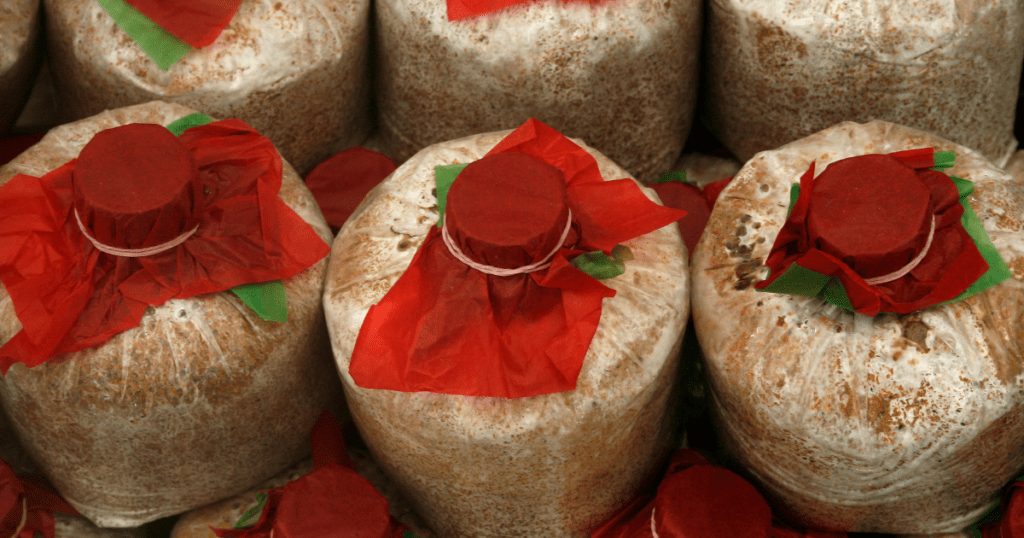
Take your spore syringe and unwrap it. Inject about 4-6 drops of your syringe into the micron filter of the spawn bag. This is what the micron filter should look like:
The micron filter acts as a one-way entry point for your spores. The spore syringe enters the filter, you will slowly inject a few drops into the bag, and then the micron filter will naturally re-heal. This is mainly to prevent other materials from later entering the hole, and only allowing fresh air exchange.
Further, this mechanism of grow bags keeps the contents of the bag sterile from any contamination. Contamination is a primary killer of successful mushroom grows. This is why using pre-manufactured, sterilized grow bags is so important.
Colonization of the turkey tail mushroom grow
Now, your spores are inside the sawdust spawn bag and will start to slowly colonize the mixture. This is a process that will take about 2-3 weeks, although it depends on your conditions.
The best conditions for the colonization process is in a dark, stable temperature room. You are attempting to recreate the conditions of the turkey tail mushroom colonizing the inside of a tree, just like how it grows naturally. So keep the bag in a relatively dark and cool place around 60F-70F.
After a few days, you can check on your grow bag and see if the colonization process has begun. The colonization process looks like a white, webby material is growing over the sawdust. This material is known as mushroom mycelium. It should look like this:
If you see this colonization process happening, this means the grow is well underway. If you see any other unfamiliar looking growth in the bag, this may be mold. Mold will usually be blue or green, but can also be other colors. If you see this occurring in the bag, the sawdust substrate is contaminated and must be disposed. Do not try to continue to use a contaminated bag for any reason, as this is very dangerous. Simply throw this away in the trash without opening it.
Fruiting stage of turkey tails
If you continue to check on the mushroom grow bag frequently, you should see after a few weeks that the mycelium has fully spread throughout the bag. This indicates that the colonization process is complete and you can enter the fruiting stage.
Be sure to catch the growing cycle right when colonization is complete. If you wait too long, the mushrooms may start to fruit within the bag itself. This is something to avoid, but isn’t the end of the world.
In order to initiate fruiting, you will change some conditions for the grow bag as well as add holes to let the mushrooms fruit from. You can imagine this like the mycelium has broken out of the tree and is now getting some light and more fresh air, just like in nature.
Take the grow bag and move it from the colonization area to a room with some ambient light, but not too much direct light or direct sunlight. You can use the sun or a room you regularly keep a light in to complete this step.
Now, you will cut holes in the side of the bag. It is best to use scissors or a knife for this process. You will place regular slits around the outer, lower edges of the bag. Use this image for reference:
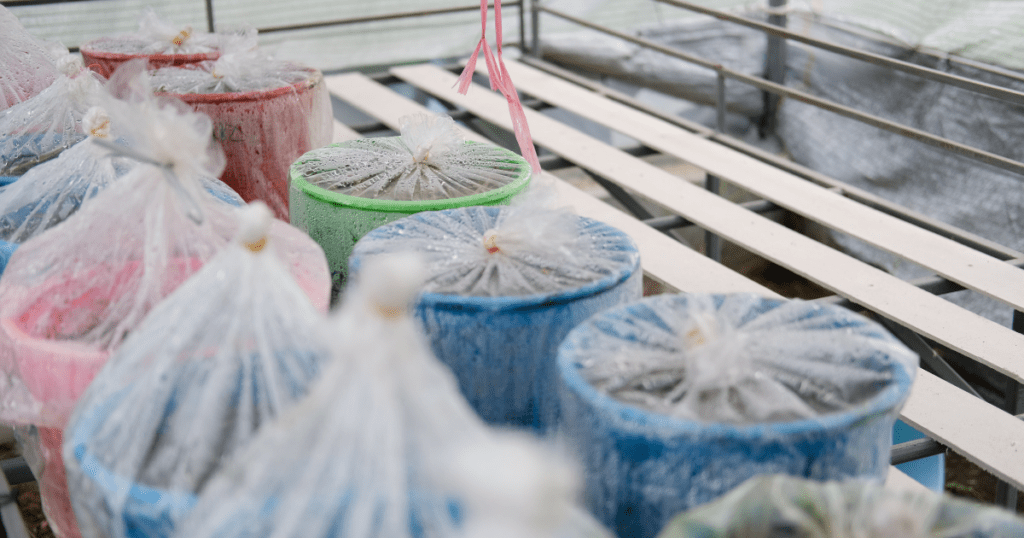
These slits are where the mushrooms will fruit from. Be careful not to cut too much into the mycelium and damage it, this can slow the fruiting process.
After a few days, the turkey tail mushrooms will begin to grow out of the slits where you’ve allowed fresh air exchange and room for the mushrooms to grow.
Completing the fruiting process
Once you have strong turkey tails fruiting from the bag, you can begin to harvest. Don’t wait too long to harvest your turkey tails. Once the turkey tails have reached an ideal size for cooking or other gourmet purposes, you can think about cutting them off.
For harvesting turkey tail mushrooms, we recommend simply pulling them out of the mycelium gently but with a little force. If this does not work, you can use the scissors or knife again to gently cut away at the base of the mushrooms.
Since most people don’t consume whole turkey tail mushrooms, you will want to immediately begin the drying process. The drying process should involve a food dehydrator.
Using other methods to dry out mushrooms can risk leading to mold, which would ruin all of your work in growing these mushrooms. Once the mushrooms are completely dry, you can store them safely for very long periods of time. Fresh mushrooms do not last very long, so be sure to dry them as quickly as possible.
Conclusion
Turkey tail mushrooms are a fantastic mushroom to grow for healthy individuals. By growing it, you can repeat the process over and over and store a large amount of turkey tails for usage over a long period of time. Always be sure to use the safest and most effective methods when growing mushrooms.
Skipping steps in this guide or working lazily can result in a flawed or contaminated grow. Sterilization and careful work will provide the biggest fruiting mushrooms and best overall results.
Now, you can experiment more with growing this type of mushroom outdoors, using nature to guide the way. See our outdoor mushroom growing guide here.
Congratulations, you’ve completed the turkey tail guide!