We created this guide on how to grow mushrooms commercially. It can be highly profitable to grow mushrooms industrially. The details of this process will vary based on mushroom type.
Table of Contents
- Equipment & Supplies
- Grow Bag Preparation
- Incubation
- Transition to Fruiting
- Completion and Harvesting
1. Equipment & Supplies required to grow mushrooms commercially
Mushroom Growing Bags
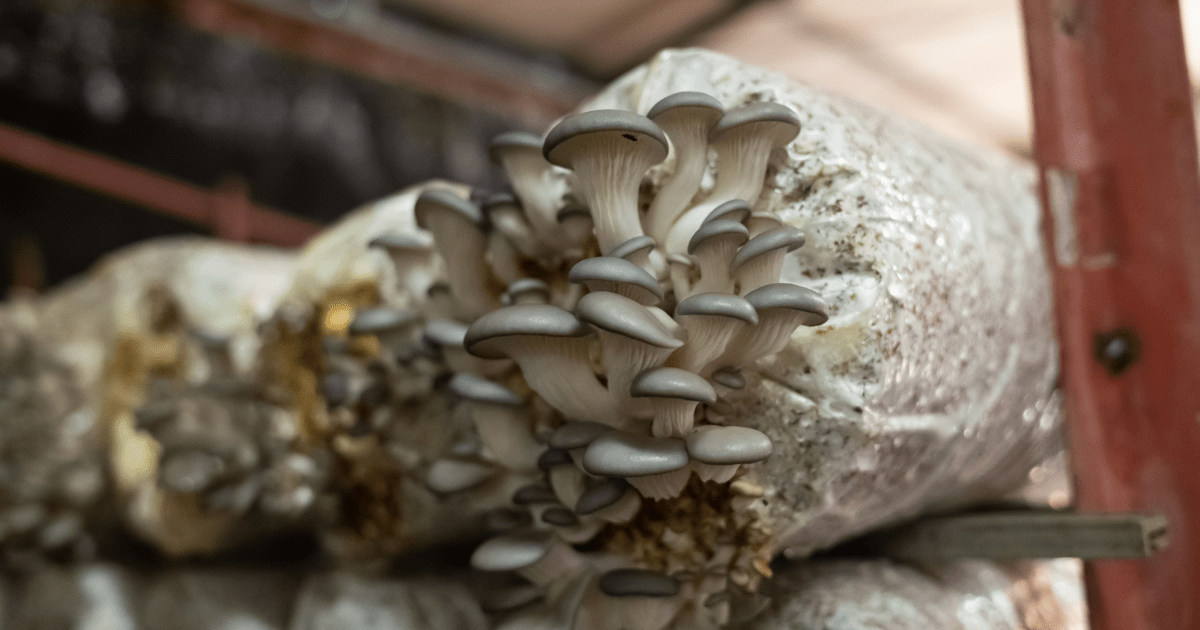
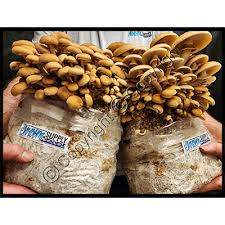
Generally, mushrooms are grown in substrates contained in plastic bags in commercial mushroom growings. The substrate required for each mushroom is different, however you will always use mushroom grow bags in commercial grow setup.
Find mushroom grow bags on Amazon here:
[50 Pack] Mushroom Growing Bags by Impresa
Mushroom Growing Substrate
All mushrooms grow best in different substrates. Substrates are often organic materials like sawdust, manure, or a mie. Grow substrates act as nutrition for mushrooms, and this is what the mycelium (like mushroom roots) grows around and into.
Many mushrooms will do well in a mix of manure and other organic material.
Here is a highly rated manure-based substrate on Amazon:

This substrate will work for many different types of mushrooms. There are such a wide variety of types of mushrooms out there that you will need to research the individual type you are interested in growing and use Wikipedia to source the information on specific growing mediums for that mushroom.
Making your own mushroom growing substrate is also very easy and cheap:
The key ingredients to a basic mushroom growing substrate are a combination of 80% vermiculite, 15% coco coir (a coconut fiber), and a small amount of coffee grounds. Many online substrates are made of this material, which you can assemble yourself for cheap.
Amazon has almost everything you will need to make a mushroom substrate.
Storage & Conditions needed to grow mushrooms commercially
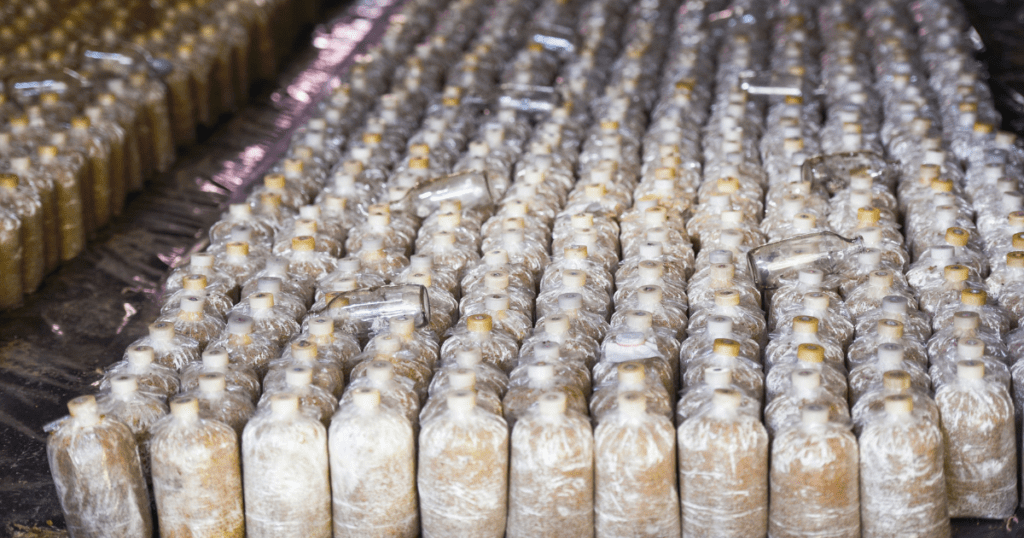
Many commercial growers use small sheds or warehouses to manage all of their mushroom growing bags. You will want to some some kind of separate space, perhaps a basement or outdoor shed. You will also want to be able to outfit this space with a humidifier and have it be closely temperature-controlled.
If you’re using an outdoor grow in a shed and you live in a cold climate, then you will need to take extra steps to ensure your grow maintains the ideal temperatures of about 75F with relative humidity at 40-50%. If the temperatures drops lower, your grow will delay or potentially fail.
Further, you can use mushroom grow tents (also known as martha tents) to maintain grow conditions easier. See our blog on mushroom grow tents here.
2. Grow Bag Preparation
Now that you’ve secured your mushroom growing substrate, it’s time to prepare your grow bag.
Your substrate must be pasteurized/sterilized and put into a plastic bag that either sits on a shelf or hangs from a ceiling.
(Reminder: You can skip creating and sterilizing a grow bag by buying one directly on Amazon)
In order to sterilize these mediums, you will need to either pasteurize them or steam-sterilize such as using an autoclave or pressure cooker. This is done after you have fully completed the assembly of your substrate with all of the necessary ingredients OR you purchased your substrate pre-sterilized.
When your growing medium of choice is freshly sterilized, you may need to break it up into small, finer pieces especially with a choice of straw. It needs to be dense, but not too dense, sot the mushrooms have air and room to grow.
Now that your substrate is packed into your bags and sterilized, it’s time to sprinkle some of your spores on top. You can then toss/mix the bag lightly to disperse the spores, although this is not always necessary. You only need about 3-5 drops of your spore syringe to begin colonizing your mushroom spawn bag with the mushroom spores.
Bonus! Here are some spore choices that will work with the substrates we covered in this post:
3. Incubation
Now that your sterilized substrate and spores are mixed into the growing bags, it is time to let the mycelium colonize the substrate.
Put your bag(s) in a dark room at a temperature in the range of 75-80F. Lower temperatures can reduce colonization speed, while higher temperatures can kill the mycelium and induce contamination.
For commercial growers, the specific conditions like temperature and humidity are variables you can play around with and research. All mushrooms prefer different conditions, so always do your research.
The room where your mushrooms are kept should be completely clean before placing bags for incubation. As said before, you can either place your bags on shelves or hang them from the ceiling based on space available.
4. Transition to Fruiting
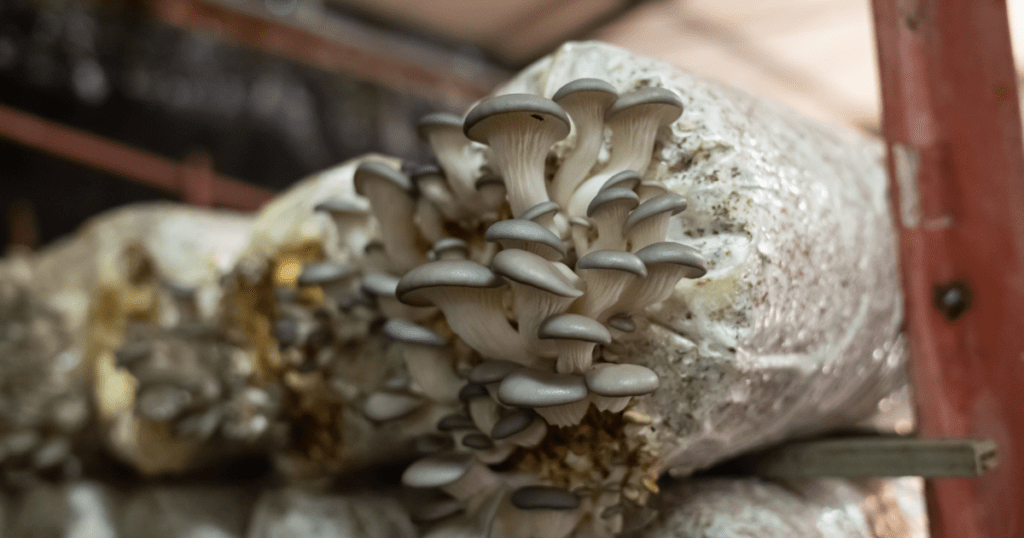
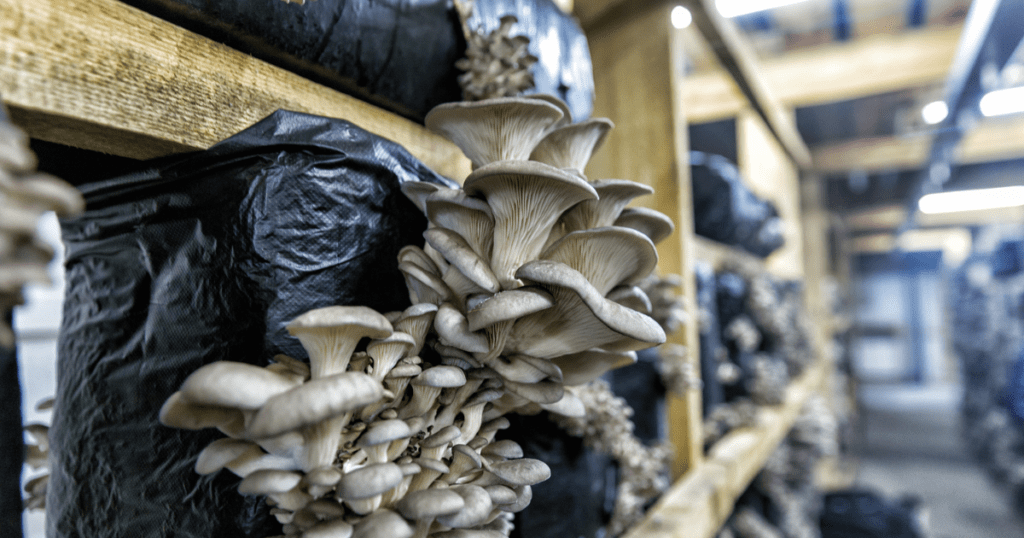
The transition to fruiting your mushrooms begins when your substrate is fully colonized with mycelium. This will look like the entire material is covered in the white, webby material you see in the photos above.
To begin the fruiting process, you will add light to your room and more fresh air in order to engage growing in your mycelium.
You can also cut away or create small holes in the plastic bag, so that the fresh air can reach the mycelium and the mushrooms have room to grow outward.
It is important that this room is kept at high humidity and water is added to the mycelium so that it does not dry out. Adding water is optional depending on the other conditions in your grow room, and may not always be necessary if you are using a high-humidity setup.
5. Completion and Harvesting
After about 1-2 weeks depending on your warmth and conditions of your fruiting room, your mushrooms will begin to pin and grow. Throughout this growth you will still need to maintain humidity and water content.
The time to harvest is highly dependent on the mushroom. Some may be a few days, some may be weeks. Ideally, you will harvest the mushrooms before they drop new spores.
Depending on your goals, you will need to either store the fresh mushrooms safely or dry them so that they cannot rot or suffer from contamination.
6. Recycling & Reusing Materials
In many commercial grows, you can re-use many of the materials. For one, your substrates that you harvested many mushrooms from may actually flush a whole new flush of mushrooms multiple times! This means the same setup can produce 1-3 rounds of healthy mushroom fruits. Always watch to see how many flushes your bags will produce
Secondly, you will find that you can re-use many materials such as the tools you used to setup the commercial grow. This makes commercial growing a process that costs less as you go. As you purchase tools and equipment, you can use it again and again for each grow.
Grow Mushrooms Commercially: Conclusion
Congratulations! You have finished the overview guide on how to grow mushrooms commercially.
If you’re looking to start smaller, check out our BRF Jars Guide and Spawn Bag Guide