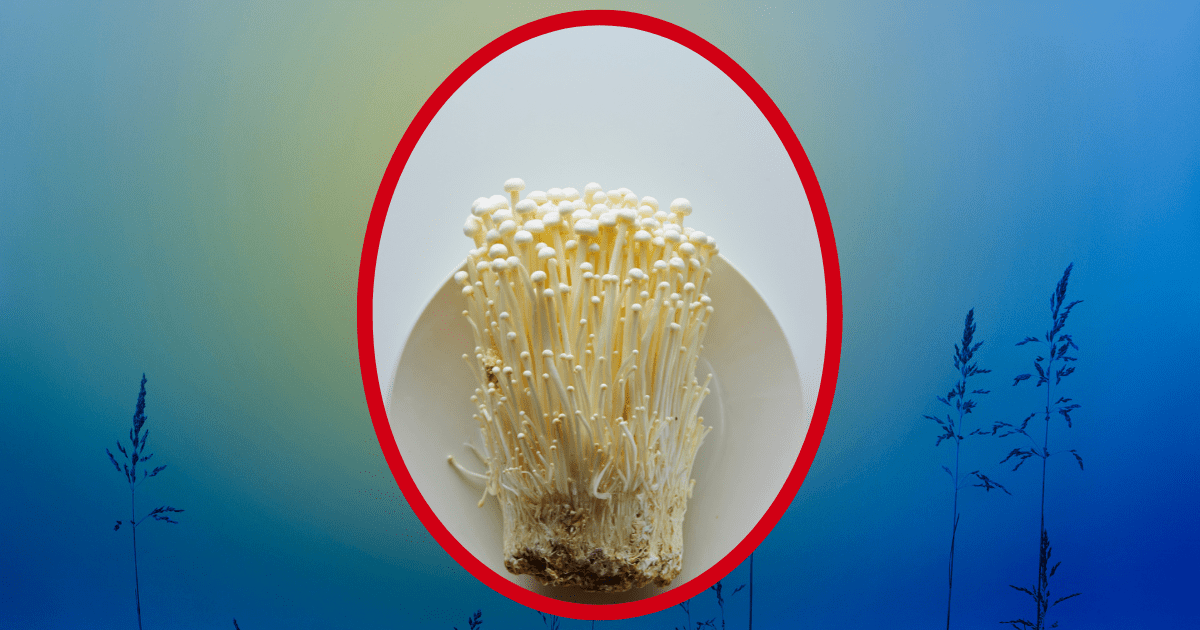
Enoki Mushrooms are a mushroom commonly enjoyed in Asian cultures as an ingredient in soup and noodle dishes. They’re highly nutritious and have a great taste and texture. Thankfully, growing enoki mushrooms is a relatively easy mushroom to grow and enjoy for anyone. They grow much like other mushrooms, so any experience you have will transfer.
Of course, if you don’t have any experience growing mushrooms, our guide below will also serve beginners.
Find the Wikipedia page on Enoki mushrooms here.
Key Takeaways
- Required Materials: To grow enoki mushrooms, you’ll need enoki spawn/spores, tall 32oz mason jars, hardwood sawdust, and a sterilization method (pressure cooker or pot with a tight-fitting lid).
- Preparation & Sterilization: Fill mason jars with hardwood sawdust and water mixture, seal, and steam-sterilize using a pressure cooker or pot. Allow jars to cool before proceeding.
- Inoculation: Inject Enoki spores into the sterilized jars, ensuring absorption into the substrate. Cover jars lightly with materials like plastic bags, foil, or filter paper.
- Colonization & Spawning: Place jars in a temperature and humidity-controlled environment for a few weeks. Monitor for white mycelium growth, which indicates healthy colonization.
- Fruiting Process: Once the mycelium has fully colonized the substrate, small white enoki mushrooms will start to form. Harvest the mushrooms when they reach an appropriate size and appearance.
- Harvesting: Carefully cut or pull mushrooms from the substrate base. Rinse, dry, and store mushrooms properly.
Introduction & Supplies for Growing Enoki Mushrooms
Materials needed:
Enoki Spawn/Spores (Amazon)
Of course, you will need some enoki spores to grow enoki mushrooms. This Amazon seller has a high reputation for mushroom spore syringes.
Tall 32oz Mason Jars (Amazon)
Tall, wide-mouth mason jars will work better for giving the enoki mushroom stems plenty of room to grow. They are also safer and easier to sterilize!
Hardwood Sawdust (Amazon)
Sawdust is the material from which the mushrooms will grow, providing the ideal nutrition for enoki mushrooms.
A Sterilization Method
Sterilizing your jars and substrate is very important and cannot be skipped. Otherwise, your enoki substrate may become moldy and will not grow. Sterilization methods include using a pot with a tight-fitting lid or a pressure cooker. You will need one or the other. Visit our shop for the best pressure cookers for mushroom growing.
Optional Step
You can opt out of most of these materials by buying a pre-sterilized enoki mushroom growing kit. You can find these on other websites by searching for enoki grow kits online. In this case, you can skip ahead to the later steps or read our mushroom grow bag guide here since you purchased a ready grow bag.

Otherwise, read on if you are not using a grow kit.
Preparation & Sterilization
Take your mason jars and add about an inch of the hardwood sawdust to the bottom of them. Then, add about a 1/4-1/3 cup of water to the sawdust and mix it around.
Seal the mason jar back up and set it aside. Do this for every jar of enoki you’d like to grow. For our purposes here, we recommend doing about 2-6 mason jars worth of enoki.
Now, take the partially filled, sealed mason jars and place them inside your pressure cooker or pot with a tight-fitting lid and add some water to the bottom pot/pressure cooker. You will turn up the heat / turn on the pressure cooker, and steam-sterilize your mason jars with the sawdust on the inside.
Be extremely careful when sterilizing jars. The heat and process can become dangerous if you aren’t careful and work slowly. For more detailed steps on the sterilization process, please read part 2 of our guide here, then come back to this guide.
Let your mason jars cool off before attempting to work with them again.
Your mason jars with hardwood sawdust are thoroughly sterilized and ready for your enoki mushroom spores. Keep your mason jars sealed until you’re ready to add your enoki spore spawn.
Inoculation
Next, it’s time to ‘inoculate’ the mason jars with your enoki spores. Inoculate is another word for injecting your enoki spores into the mushroom substrate (your sawdust).
Open your jars and sprinkle about 3-5 drops of your enoki syringe onto the sawdust/water mixture. Please give it a slight shake and ensure the drops have absorbed the material.
Now, cover your mason jars with something light. You don’t want to reseal them completely because this will cause them to lose access to fresh air. Use newspaper, a lightly fit plastic bag, or tin foil. You can also punch holes in the top of the mason jar and place a micron filter paper over the holes. This would be the safest way!
Colonization & Spawning Enoki Mushrooms
Now that your jars are ready and lightly covered, as explained above, you can move your mason jars to the place where they will grow. Further, putting the enoki mushroom jars in a temperature-controlled and humidity-controlled room is essential. It’s best to put them in low-to-mid 70 degrees Fahrenheit room.
Leave your jars in this room for a couple of weeks, and check on them regularly. You’ll want to check the jars for mold or other issues. If mold appears, you may have gotten unlucky or did not sterilize your materials properly. If you see a colorful mold, throw the whole jar away immediately! It’s unsafe to proceed with these. Don’t mistake the white colonization of the material with mold, however.

Now, as the enoki spores begin to colonize the sawdust and water mixture, a white web begins to form. The webby material is called mycelium. This may look like mold, but it most likely isn’t as long as it is white and webby.
Once this white material has completely overtaken your sawdust mixture in about 1-3 weeks (depending on temperature), the enoki mushrooms will begin to fruit!
Fruiting the Mushrooms & Finishing
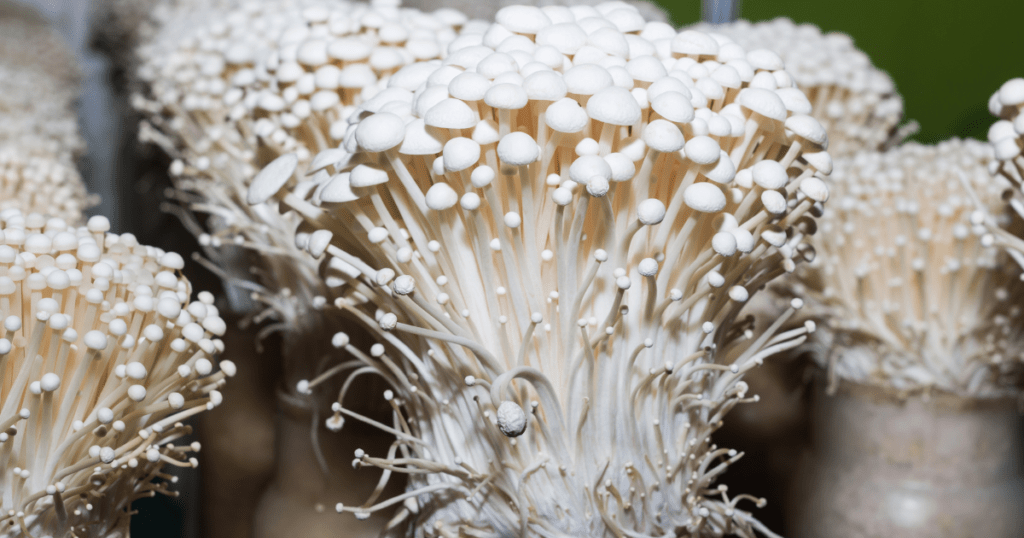
Moving on, you should now be preparing to see the enoki mushrooms sprout out of the mushroom substrate. They will start small and grow slowly. The growing process can be quick, so don’t let the mushrooms sit for too long and over-grow.
The mushrooms are ready to harvest when they look like this!

Once they reach this point, you can take a pair of scissors and cut them or pull on the enoki mushrooms from the base, and they should pop out of the substrate.
Make sure to give the mushrooms a complete rinse to rinse off any material at the bottom that may be stuck. Then, dry them and prep them for storage.
P.S. Your mushroom substrate may fruit more enoki after you cut the first batch! Leave the jar in the fruiting room for this to happen.
Alternative Ways of Growing Enokii Mushrooms
Here are two other, successful methods of growing EnokiI mushrooms at home:
Growing From Cuttings
If you don’t have access to Enoki liquid culture or a spore print, you can use store-bought mushrooms in order to cultivate your very own Enoki at home. Keep in mind that this approach hinges on the quality and age of the Enoki mushrooms you possess. The sooner you are able to reintegrate the stems into a suitably prepared substrate, the higher the likelihood of achieving a successful outcome.
This alternative way of growing is pretty straightforward, simply place the stem cutting within a prepared sterilized substrate. Once done just follow the steps provided in the “Colonization & Spawning” chapter. Once the substrate is fully colonized fruit them as you regularly would.
Growing In Plastic Bottles
For people who are repurposing household items that would end up in the trash, this method is ideal as it employs water bottles as a medium for cultivating Enoki mushrooms. Much like glass jars, water bottles provide the advantage of allowing you to observe the mycelium’s progression across the substrate.
This visual insight affords you the valuable ability to closely monitor the development of your growing kit. The process of growing in plastic water bottles isn’t much different than the jar method. You can watch the video below to get a better idea of how to use your empty water bottles to grow Enoki mushrooms!
Conclusion on Growing Enoki Mushrooms
Your mushrooms are now ready for consumption or other uses! When growing enoki mushrooms, always be safe and cautious. The enoki mushrooms will only store well in the fridge for about seven days, so consume them before they go bad.
If the mushrooms are discolored or look unexpected, don’t eat them and retry with different materials or a more careful process. You don’t want to get sick from eating rotten or poorly grown mushrooms.
You’ve completed the guide! Check out our other resources on our site for more help and mushroom-growing supplies.
FAQ
What Are the Best Growing Conditions for Enoki Mushrooms?
The best conditions for growing Enoki mushrooms are in the temperature range between 68 to 77 degrees Fahrenheit with elevated humidity levels of around 85-95%.
What Is the Easiest Way to Grow Enoki Mushrooms?
The easiest way to grow Enoki mushrooms is by purchasing an Enoki mushroom grow kit. Simply cut the spawn bag open and mist it twice a day for a week or two.
What Substrate Should I Use for Growing Enoki Mushrooms?
Enoki mushrooms grow well on a substrate made of hardwood sawdust. This provides the necessary nutrients for their growth.
How Long Does It Take for Enoki Mushrooms To Grow?
Under ideal conditions, Enoki mushrooms can start sprouting within a few days to a week after inoculation. Full growth may take a couple of weeks.
How Do I Store Harvested Enoki Mushrooms?
Harvested Enoki mushrooms should be stored in a paper bag or breathable container in the refrigerator. Consume them within about a week.
Click here to go back to the mushroomgrowing.org home.