Table of Contents
The process of creating a spore syringe is relatively straightforward, but it is essential to do it in a clean environment to minimize the risk of contamination from other fungi spores or bacteria. Even the most experienced cultivators can struggle with contamination, so cleanliness is crucial, especially if you plan on sharing or exchanging spore syringes.
Many cultivators have experienced contamination issues in their mason jars or agar plates due to unclean prints or syringes. Therefore, it is essential to follow standard mycology practices and work in a sterile environment to create contaminant-free spore syringes.
Tip: You can shop for all types of spore syringes on Amazon here.
Collecting Spores
Collecting your own spores is a relatively simple process that only requires a mushroom, some paper (or aluminum foil), and a glass. Start by carefully removing the stem and any protective skirt around the gills of the mushroom head.
To create a spore print, place the mushroom top with the gills facing down onto the paper and cover it with glass. Let it sit for 24 hours. When you remove the glass and lift the mushroom, you will see a print on the paper that replicates the gill pattern of the mushroom. This is the spore print that can be used to grow your own mushrooms. Store the print in a sealed bag in a cool, dry, dark place until you’re ready to cultivate.

What Will You Need To Create a Spore Syringe
To make a spore syringe, you will need the following:
- Sterile water
- Food-safe gloves
- An empty syringe
- Rubbing alcohol
- A spore print
- A torch lighter/gas burner
- A scalpel
- Aluminum foil
Useful Tips
To make a spore syringe, it is important to work in a sterile environment. Begin by cleaning your workspace with rubbing alcohol. It is crucial to minimize air movement, so ensure that those around you are aware of what you are doing and try to work quickly and efficiently. You may want to practice a few times before beginning.
It is recommended to work in a Still Air Box (SAB) to minimize air movement and reduce the risk of contamination. Most SABs are made from clear plastic storage boxes with two holes cut for armholes. To make the holes, heat a medium-sized tin can and cut two holes in the plastic where your arms would feel most comfortable.
P.S. Check out spore syringes on on our shop here!
After cleaning your working area or Still Air Box, the next step is to sterilize your tools. To sterilize the scalpel and the needle, use a flame lighter or gas burner to heat them until they begin to glow red. Once heated, let them cool down completely before using. It is important to perform this step outside the Still Air Box to avoid the risk of alcohol fumes catching fire. As they cool, you can place them inside the box.
After drawing up the spore solution, it’s important to cap the needle and give the spores enough time to hydrate. Although it typically takes around 24 hours, it’s even better to wait two to three days. It’s not recommended to use the syringe immediately. If you need to store the syringe, it can be kept in the fridge for up to six months. To prevent contamination, it’s best to store the syringe in an airtight zip baggie since fridges are not the cleanest places.
Creating a Spore Syringe Solution
Once you have obtained a spore print using the method mentioned above, you can use it to grow your mushrooms by creating a spore syringe. To do this, you must work in a sterile environment using distilled water that has been boiled 2-3 times (or approximately for 20-30 minutes) in order to eliminate any bacteria.
Ensure that the syringe needle is sterile by heating it in a flame for a few seconds. Draw some cooled sterilized water into the syringe and then scrape the spores from the spore print lightly into a sterilized glass using the syringe needle. Expel half of the water from the syringe into the glass, and then draw the spore water back into the syringe. You should notice that the water has slightly discolored, and clusters of spores may be visible. This spore solution is now ready to inoculate your growing medium.
Using The Spore Syringe
Since spores lack chlorophyll, they require other sources of nutrients besides light to germinate. These sources can range from sawdust and straw to wooden plugs and grains. The type of mushroom being grown determines the most appropriate substrate since different varieties thrive in different materials.
The process of combining the spores with the appropriate nutrient substrate is called spawn. The spawn provides a platform for the mycelium, the fungus from which mushrooms grow during fruiting, to develop. The addition of spawn to a substrate typically results in more robust fruiting and a greater yield of mushrooms.
To inoculate the substrate simply add a few milliliters of spore solution to each corner of the mushroom substrate. After a few days, you should start to see white patches of mycelium growing in the areas where the spores were dropped. Wait until the entire substrate is colonized by the mycelium before beginning the fruiting process. Once the mushrooms begin to grow and mature, they can be harvested and their spores can be collected for preservation.
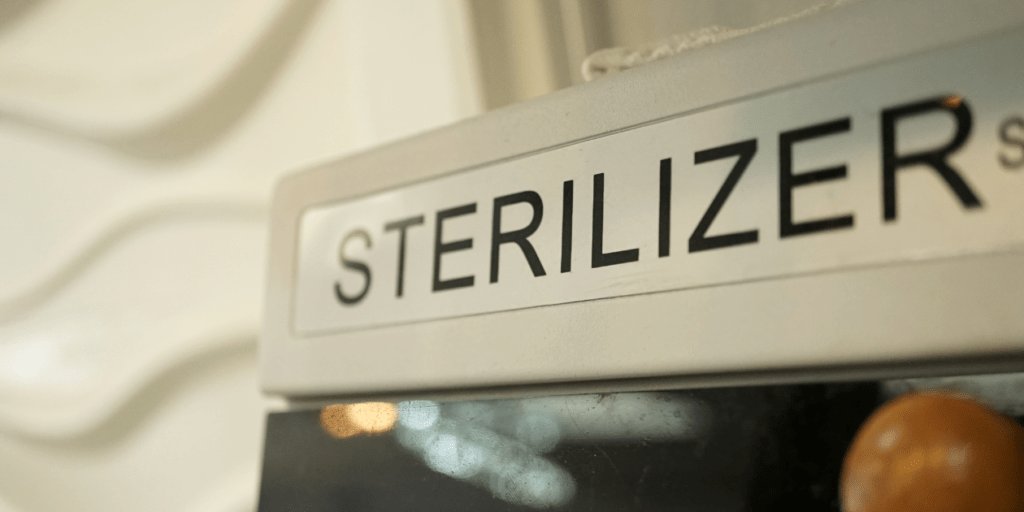
Sterilization and Sanitation
Sterilization of mushroom substrates is a crucial step in the mushroom cultivation process. It involves the use of various methods to kill off living organisms and spores present in the substrate. This is done to ensure that the substrate is free of any contaminants that could prevent the growth of mushrooms or reduce yield.
The most commonly used method of sterilization is the combination of steam, time, temperature, and pressure. To achieve sterilization, temperatures of at least 250°F (121°C) need to be maintained for a minimum of 2 hours.
You can buy a pressure cooker for steam sterilizing on Amazon here.
It’s worth noting that boiling water or steam on its own is not enough to sterilize a substrate. This is because the boiling temperature of the water is only 212°F (100°C) at sea level and even lower at higher altitudes. Raising the temperature beyond this requires the addition of pressure.
Increasing the heat alone does not increase the temperature of boiling water. To raise the temperature to 250°F (121°C) or above, pressure needs to be added to the system. For most mushroom growers, this means maintaining 15 PSI of pressure in the sterilization chamber.
If you have equipment that can raise the temperature higher than 250°F (121°C), sterilization will take less time. However, for small-scale mushroom growers, pressure cookers are generally used for sterilization.
Sterilization is not the only step necessary to ensure the success of mushroom cultivation. Sanitation is equally important. Before sterilization, the substrate must be properly cleaned and prepared. The work area, equipment, and tools must be kept clean and disinfected to prevent contamination.
The Bottom Line
Making a spore syringe requires a clean environment and adherence to standard mycology practices to avoid contamination from other fungi spores or bacteria. The process involves obtaining a spore print, sterilizing tools, creating a spore solution, and inoculating a substrate.
Working in a Still Air Box (SAB) can minimize air movement and reduce contamination risks. The sterilization and sanitation of mushroom substrates are crucial steps to ensure that the substrate is free of any contaminants that could affect the growth of mushrooms or reduce yield. Following these steps can lead to a successful mushroom cultivation experience.